
Every landlord wants a rental home in excellent condition no matter how many residents have stayed in the property. An effective way to accomplish this is to perform tenant walk-through inspections. Landlords who take the time to do this step end up with rentals in a better state and they provide advantages for landlords and residents. Check out the tips below on how to do a proper tenant walkthrough inspection:
Have a Checklist Ready
Your checklist should contain the different rooms of each rental unit, including their furnishings. You can source a template online, but it’s best to customize your checklist to create more space for detailed notes.
You can write the individual rooms and separate them into different categories, such as door, window, floor, walls, appliances, and furniture. Leave some space to write down the conditions you observe during the move-in and move-out stage, the estimated cleaning fees, or the repair cost for damaged pieces.
Lastly, the checklist should have a space at the bottom for both parties to sign after the walk-through inspection is completed. Ensure that the date is included with the signature and a copy is produced for the resident.
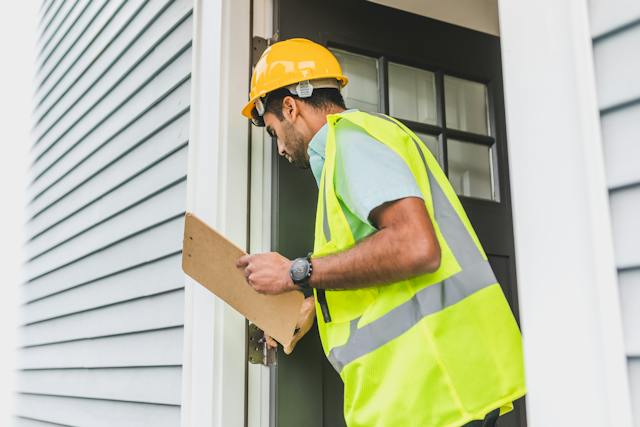
Conduct the Inspection with Residents
Before accommodating the resident in your rental, a walk-through inspection must be scheduled with all parties signing the leasing agreement. The aim is for the landlord and tenants to evaluate the condition of each room jointly and agree on the state of the property. This way, future conflicts are reduced when the lease ends.
Another purpose of the walk-through is to set clear expectations. Going through the inspection allows you to inform the resident of what level of cleanliness you expect the rental to be in, considering the state it is presented to them at the start. You can also explain how damage from normal wear and tear differs from damage caused by neglect or abuse.
What's more, although the residents must show up for the initial tenant walk-through inspection, they can choose not to appear during the move-out inspection, since maintenance and repairs have been addressed by the tenants.
Opt for a Simple Process
Keeping things straightforward is better to prevent residents from reconsidering their decision to rent the unit. If your walk-through inspection gets complex you can risk a tenant losing interest in becoming a resident. Remember that no rental property is free from flaws.
You want to avoid over-documenting each tiny detail and wasting time and energy, or creating pressure for the renter to leave the rental space in perfect condition. A good rule of thumb is to perform a 20-minute walk-through.
Take Pictures and Videos During the Inspection
When you have a convenient mobile device in your hand, it is easy to take photos and videos while performing a tenant walk-through inspection. Make sure to snap images of the entire room and close-up shots to see the details.

Use the time stamp feature to record the exact date and time. You can also mark labels to avoid confusion and create digital backups in case you lose the original shots. Documenting with photos and videos results in fewer disputes since you can present proof and show the tenant the state of the room during the initial property walk-through.
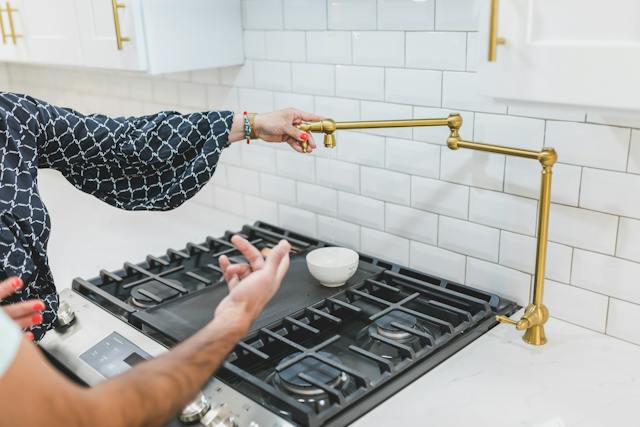
Do a Property Check Before the Renter Arrives
Since walk-through inspections must be meticulously performed, you can do a preliminary inspection. By taking the time to check the HVAC system, and the toilet water pressure, and see if the appliances are in working order, you can have the damage fixed or replaced beforehand, thus saving time. To cultivate a great landlord-tenant relationship, trust has to be built. Tenants trust you more when you present a rental unit with functional systems.
When conducting a walk-through inspection with the tenant, repeat the testing of home systems and agree on the condition of these items. This step will reduce tenant complaints and reports of pre-existing damage are also limited. Taking time to agree on the state of the rental also prevents landlords from shouldering costly repairs from tenant damages.
Provide a Grace Period
Some property issues can be hard to notice unless a certain time is spent in the rental home. As such, landlords are advised to allow residents time to discover potential problems in the unit that weren’t caught during the initial walk-through. Three days is a reasonable period to allocate. When a renter reports a valid issue, note it down and collect documentation.
It will be easy for you to address the additional damage when the renter moves out. Sparing a few days to evaluate the rental space and ensure that all systems are perfectly functional is a good practice.
Study the Landlord-tenant Laws in Your State
Landlords must learn the specific state laws to avoid penalties. Some of the laws focus on the maximum limit of a security deposit that landlords are allowed to collect and when they must return these deposits.
Aside from that, you should also know what type of deductions can be made from a tenant’s security deposit. Typically, damage that goes beyond normal wear and tear can be covered by the security deposit.
Bottom Line
Conducting walk-through inspections helps protect your property’s value, ensuring a smooth tenancy and fostering solid landlord-tenant relations.
One of the best ways to protect your investment property is to consider hiring a property manager who’s well-versed in property laws, has enough resources to streamline your rental operation, and can perform detailed tenant walkthrough inspections. Contact Stonelink Property Management today for your property management needs!